|
|
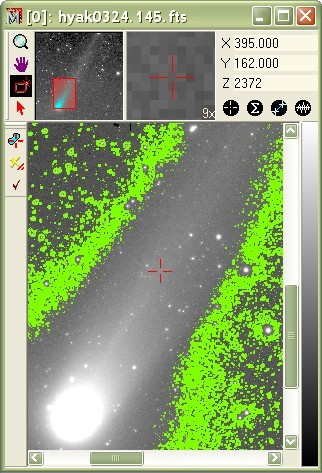
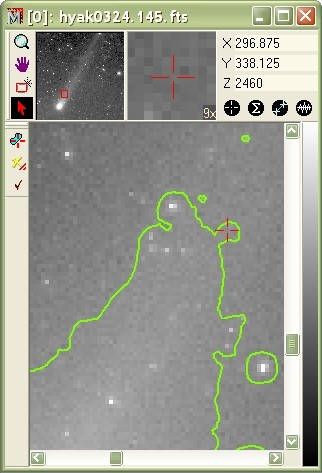
Contour Plotting with Smoothing The examples below show the effect of changing the Smoothing parameter on the generation of image contours. The smoothing parameter controls the stiffness of the contours--in other words how sharp a corner the contour curve can turn when snaking through noise. This example shows the interactive contour method, but the Smoothing parameter is also used by the Contour Plot command. The smoothing becomes especially important in reducing the tendency toward false contours of noise when contouring near the background. What Not to DoFirst, let's see what you don't want to do — at least for typical applications. In the picture below,Smoothing = None was used and the contour was marked at a very low brightness level where the image is dominated by noise. There is no useful information in this plot and it requires a lot of CPU time to redraw the window. However, there could be useful information from a contour drawn at the same level but using a medium or high smoothing value.
To control the effect of false contours created by image noise, try one or both of the following strategies:
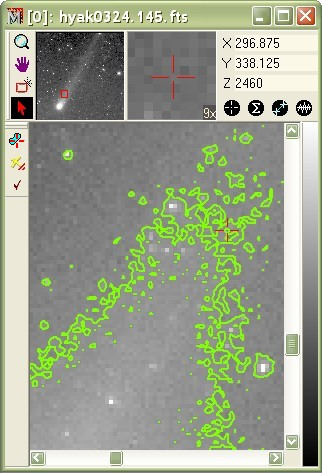
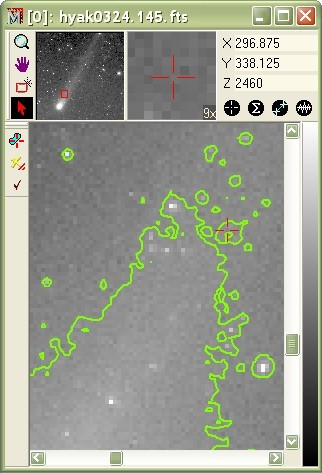
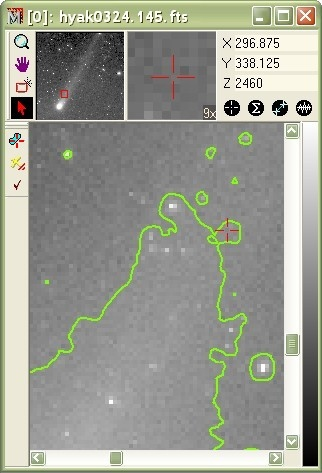
Examples of Contour SmoothingIn the examples below, the contour was drawn at a higher intensity level where the differences between the smoothness settings are are more easily seen. All other contouring Properties are the same. To create these plots, the Interactive Contour Properties dialog was used to repeatedly change the contour Smoothness, then click [Apply].
Related TopicsInteractive Contour Plotting Properties
Mira Pro x64 User's Guide, Copyright Ⓒ 2023 Mirametrics, Inc. All
Rights Reserved. |